Pro Member
- Followers
- 1
- Following
- 0
- Joined
- Aug 7, 2020
- Posts
- 33
- Likes Received
- 80
- Trophy Points
- 18
- Name
- Chris Crafford
- Country
- United States
- City/State
- Texas
I recently saw a strong recommendation to try Topaz DeNoise AI. I got a 30 day trial and processed some images from my library.
The positives: The noise reduction and sharpening is very effective.
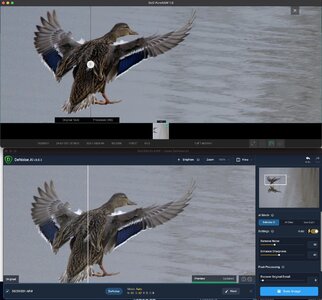
Here is an example of an original RAW image and the Denoised file with good color replication:

Issues: Topaz recommends doing the Denoise before you do any processing so that you do not enhance any noise. That implies you should run the Denoise on the RAW files (assuming you shoot Raw). The output from this is a DNG file. I found the color of the DNG file and the ability to get close to the color range I can with the original Sony RAW files very challenging. In some cases it works well but in others it was quite poor. For example on some BIF shots the sky went from Blue to nearly white and no amount of adjustment could bring the sky back to even close to what it should be.
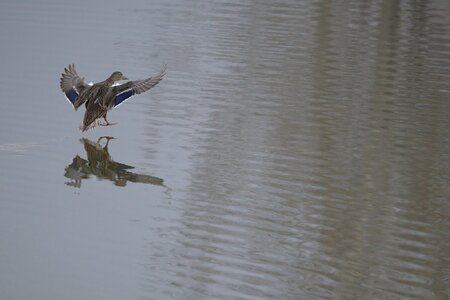
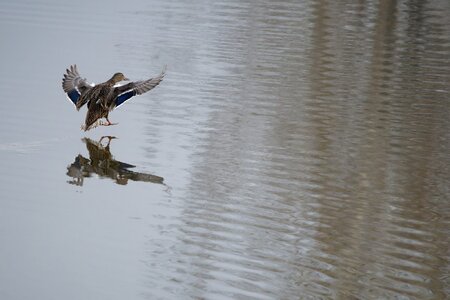
Here are examples of the color issue I experienced:


So I tried the process on my out JPEG files contrary to the Topaz guidance. The results were mixed. The noise reduction and sharpening were not as good as you can get on the RAW file but color was fully preserved.
If you have an image that need noise reduction and/or sharpening this is a very effective tool, but you need to experiment (as with all tools) to ge the result you want.
All processing of the RAW images was with CaptureOne.
The positives: The noise reduction and sharpening is very effective.
Here is an example of an original RAW image and the Denoised file with good color replication:
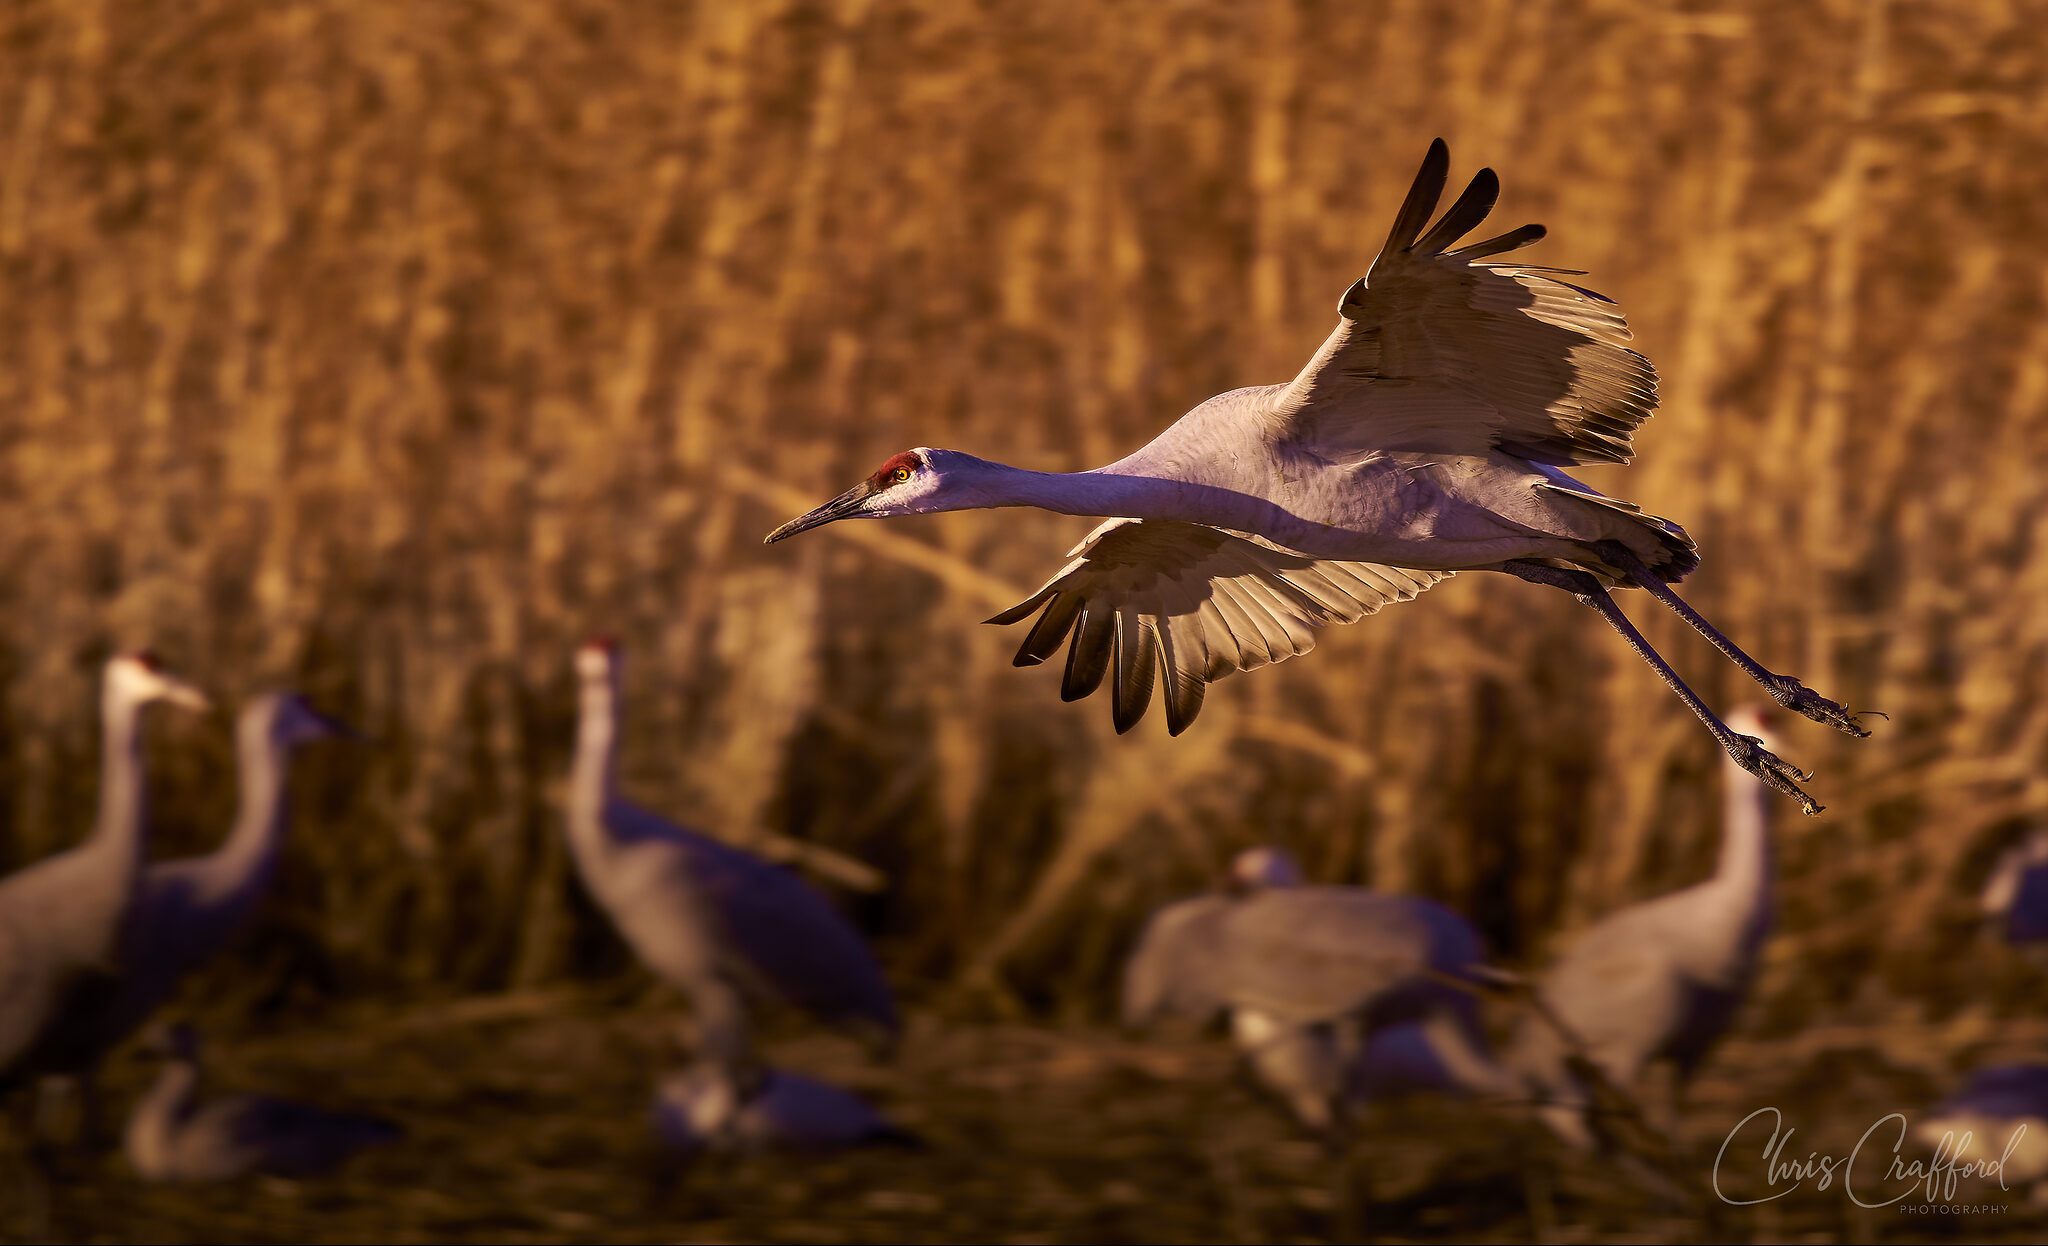
Sandhill Crane just after take off
Sandhill Crane at Basque in NM. Sony A7R3 with Sony 200-600. I just reprocessed it after first...
Issues: Topaz recommends doing the Denoise before you do any processing so that you do not enhance any noise. That implies you should run the Denoise on the RAW files (assuming you shoot Raw). The output from this is a DNG file. I found the color of the DNG file and the ability to get close to the color range I can with the original Sony RAW files very challenging. In some cases it works well but in others it was quite poor. For example on some BIF shots the sky went from Blue to nearly white and no amount of adjustment could bring the sky back to even close to what it should be.
Here are examples of the color issue I experienced:
So I tried the process on my out JPEG files contrary to the Topaz guidance. The results were mixed. The noise reduction and sharpening were not as good as you can get on the RAW file but color was fully preserved.
If you have an image that need noise reduction and/or sharpening this is a very effective tool, but you need to experiment (as with all tools) to ge the result you want.
All processing of the RAW images was with CaptureOne.