School me on Solar Eclipses and filters

Brownie

Legendary Member
Site Supporter
Site Supporter
Followers
21
Following
1
Joined
Oct 22, 2021
Posts
4,944
Likes Received
3,821
Name
Tim
Country
United States
City/State
SE Michigan
North America has a 'spectacular' (their word) solar eclipse heading our way on April 8. My area is supposed to experience a 95% totality, so not too shabby. This is supposed to last pretty long by eclipse standards, about 4 minutes.

I would like to shoot this and know I need a filter, but how much of one? I've seen everything from 10 stop to 18 stops or higher NDs, and dedicated solar eclipse filters. I am not interested in spending $150 on something that I'll probably use once or twice in my life, but I would like decent IQ, and would also like to safely view it without burning up my eyes or my sensor.

What will work? Is 15 stops enough? Do I actually need to buy a solar filter or just stick with ND? Do I use the lonest lens I have (200-600)? I'll probably not invest more than $50-60, and with my luck it'll be cloudy that day anyway! :cautious:

What do you experienced solar and eclipse shooters recommend?
 
I have never done this but will be heading to Dallas for a try, nice to have a friend that lives in the line of totality. You being much further north will naturally have a greater chance of cloud cover for the day.

A video I found that helps answer all the questions you might have: Preparing for the 2024 Total Solar Eclipse, Part 1. Part 2 is all about the day of and location advise.

This is the filter paper that I have seen people mention in multiple videos and this is the smallest size that will fit over the 100-400 or 200-600 lens Baader AstroSolar ECO-size (B&H does seem to have the cheapest price)- You will have some slight arts and crafts to custom make the filter.
 
Lens Rentals has a few articles on the subject, and some horrifying shots of what can happen to your gear if you don't do the right things:


Apparently ND filters are not enough - you do need a solar filter.

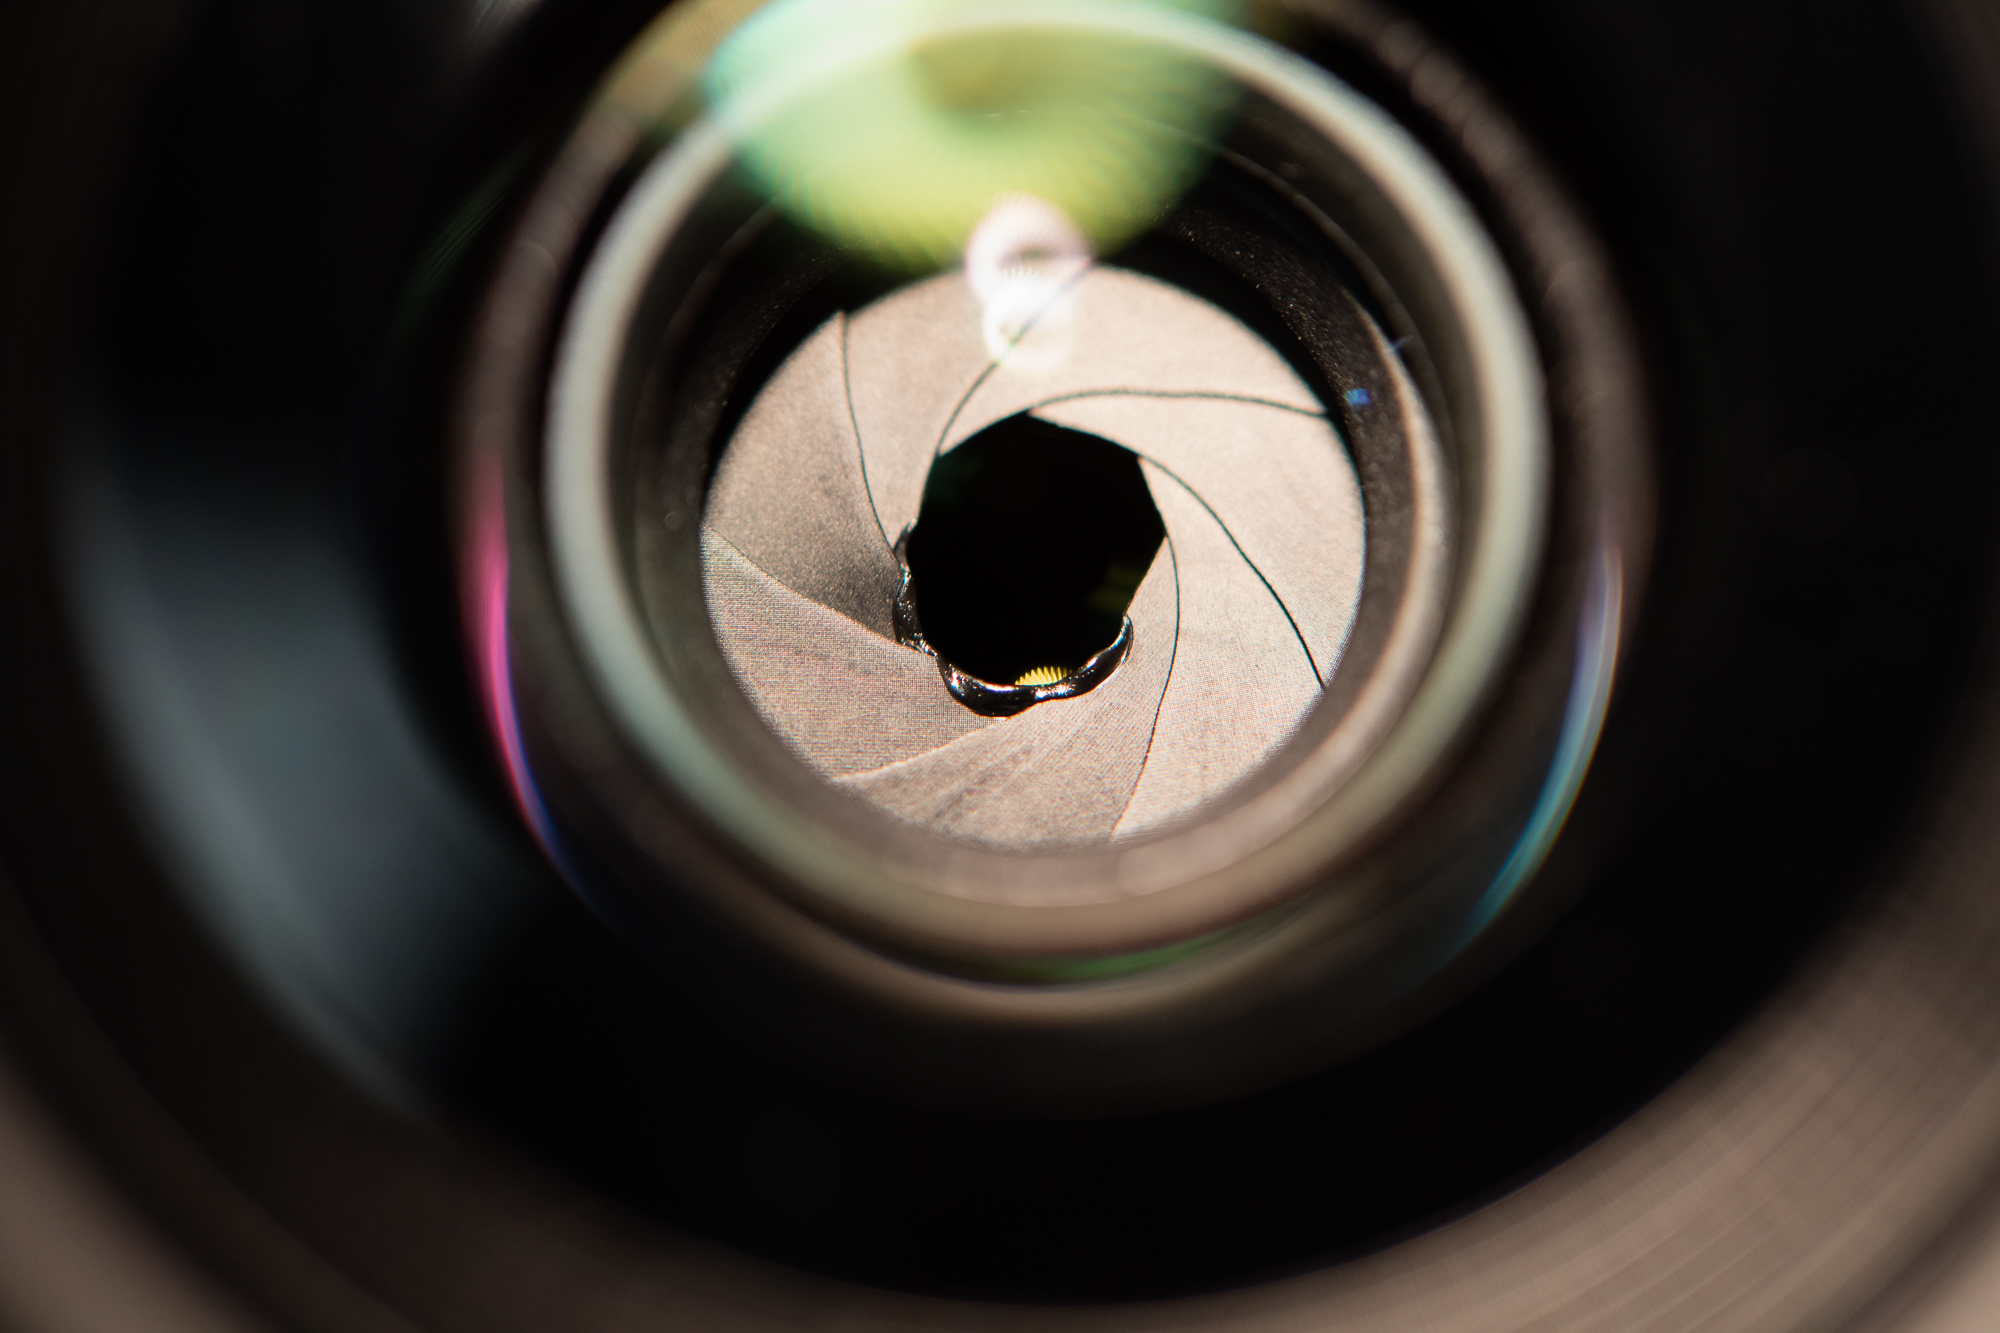
The shot of the 600mm lens with a melted aperture diaphragm - eeeesh!
 
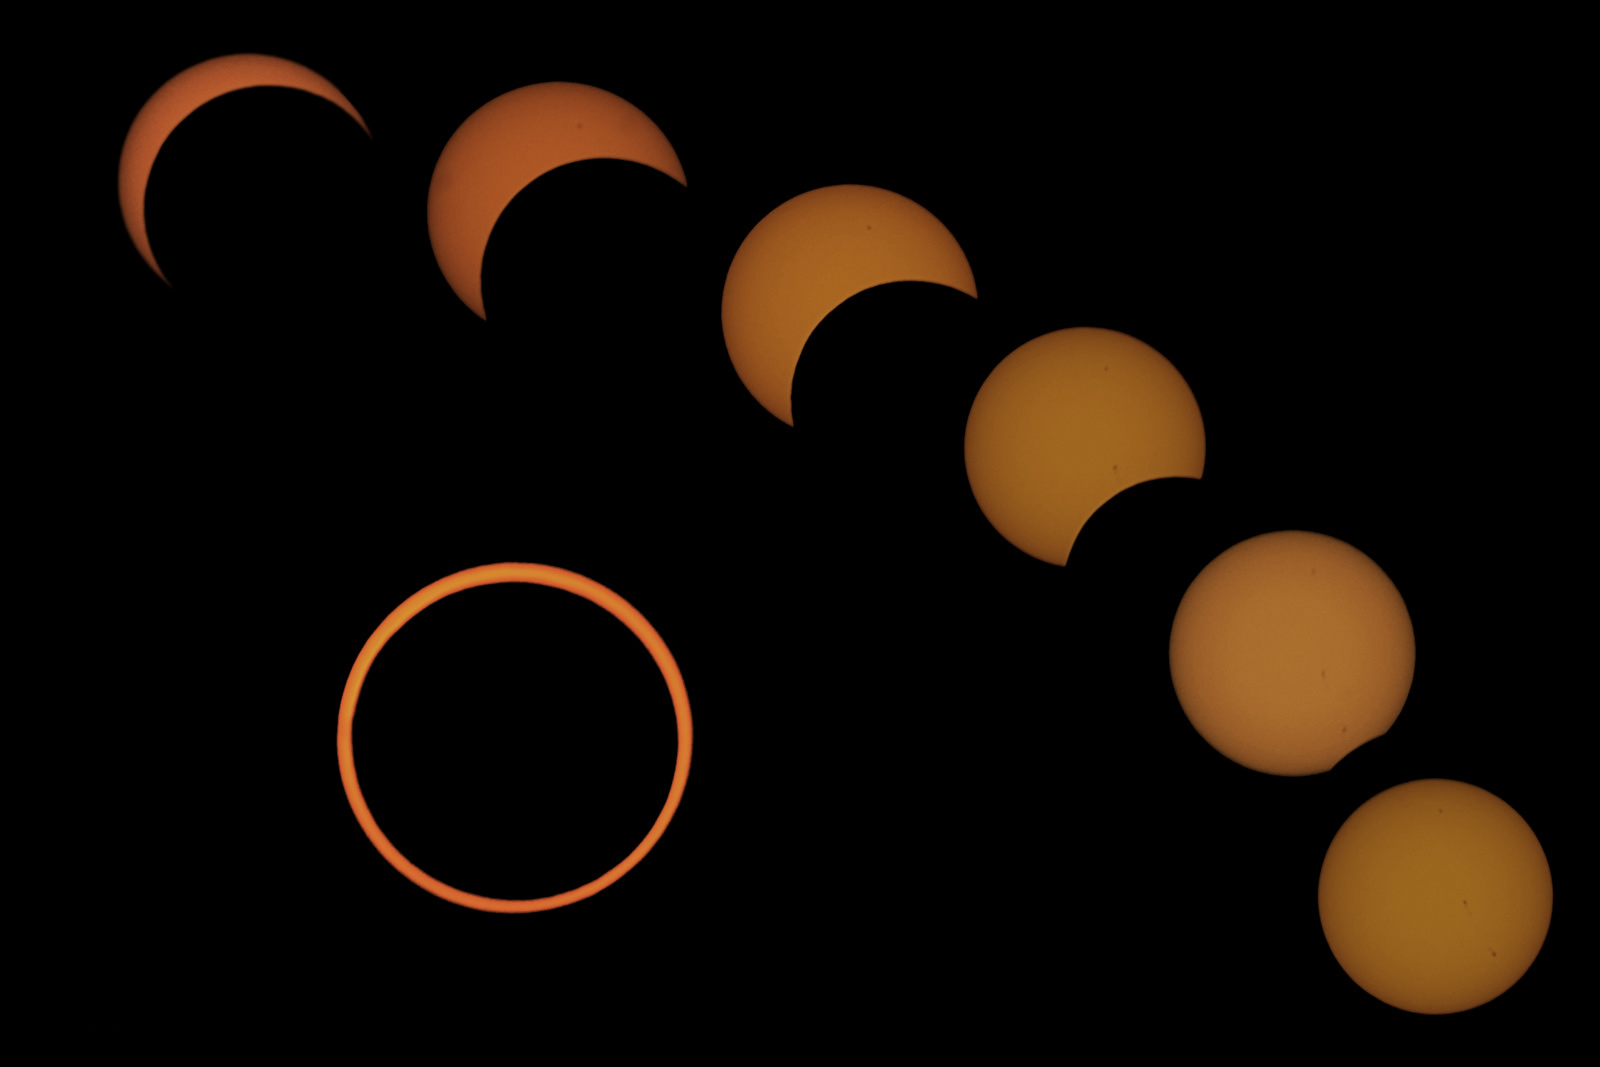
I bought a 4"x4" sheet of solar filter off of Amazon and used an old UV filter to create a solar filter. I used sugru around the edge of the filter to keep the filter in place. Here is the composite of the shots I got during the 2017 eclipse that passed directly over us in South Carolina. My daughter lives in Texas directly in the center of the path for this one so we are visiting then. This eclipse should last almost twice as long as the one in 2017. It is an impressive sight.

eclipsecollage2.jpg


I also purchased a different sheet of solar filter that provides a white light. Here is a composite shot of the ISS passing in front of the sun.

iss022021.jpg
  • PENTAX K-1 Mark II
  • smc PENTAX-DA* 300mm F4 ED [IF] SDM
  • 300.0 mm
  • ƒ/5.6
  • 1/1000 sec
  • ISO 100
 
I bought a 4"x4" sheet of solar filter off of Amazon and used an old UV filter to create a solar filter. I used sugru around the edge of the filter to keep the filter in place. Here is the composite of the shots I got during the 2017 eclipse that passed directly over us in South Carolina. My daughter lives in Texas directly in the center of the path for this one so we are visiting then. This eclipse should last almost twice as long as the one in 2017. It is an impressive sight.

View attachment 55656


I also purchased a different sheet of solar filter that provides a white light. Here is a composite shot of the ISS passing in front of the sun.

View attachment 55659
That's pretty badass!

Describe a bit better, please. Did you use the sugru to hold the filter paper on the lens, or on an old filter frame?
 
First, you cannot damage your eyes by looking at the electronic viewfinder, any more than you can damage your eyes by looking at a photo of the sun on your computer! Damage to the sensor is another matter, but using a small aperture would reduce the risk, and using the camera on a tripod would increase the risk by keeping the heat constantly in the same position. If you hand-hold then the image will move around the frame, reducing any heat build-up.
Secondly, however you photograph it you can check what your results will be like by photographing the uneclipsed sun. The disk of the sun will be the same brightness during the partial eclipse.
As your totality is 95% you must be within reasonable travelling distance of the path of totality, so I would certainly consider making the journey.
I wasn't suggesting that I could hurt my eyes through the viewfinder, but after reading my post realize it was poorly worded.

Good suggestion on normal-sun practice, will do so!
 
Got the one David posted, but spent a bit more for the A4 sized sheet just in case I goof or need a second one. Making the mount should be fun and easy.

That stuff looks like an optical nightmare in the example photos, but if it works, it works!
 
Last edited:
That's pretty badass!

Describe a bit better, please. Did you use the sugru to hold the filter paper on the lens, or on an old filter frame?

Thanks! Those were taken with my Pentax K1ii. I'm looking forward to shooting with the a7RV.

I used an old UV filter and cut the solar filter paper to fit inside the UV filter. I then used the sugru around the filter to seal it and block any light from the edges. I place the filter paper with the silver side facing away from the camera.

JRV09899-2.jpg
  • ILCE-7RM5
  • SAMYANG AF 35-150mm F2-2.8
  • 150.0 mm
  • ƒ/8
  • 1/125 sec
  • ISO 2500


Here is a shot I took a few minutes ago to check it out again. Since I created it using it using an 86mm filter and the Sony 200-600 uses a 95mm I purchased a 86mm-95mm adapter rather than make a new one.
JRV09908-2.jpg
  • ILCE-7RM5
  • FE 200-600mm F5.6-6.3 G OSS
  • 600.0 mm
  • ƒ/8
  • 1/640 sec
  • ISO 400


Once the eclipse reaches totality you can remove the filter and shoot directly. I'm glad that there will be over 4 minutes of totality since it will allow time to switch lenses, add a TC, etc. to get additional shots.

I'm really hoping for clear weather but if it is cloudy you can actually use the clouds as a filter. I took this shot of the eclipse from last October without a filter.
JRV06742-Edit.jpg
  • ILCE-7RM5
  • FE 200-600mm F5.6-6.3 G OSS
  • 600.0 mm
  • ƒ/18
  • 1/8000 sec
  • ISO 50
 
The paper David posted comes with a partial kit to make your own setup. Looks pretty simple, already have an idea. I'll probably use the 200-600, and if I do then I'll need something to slip over the end, I don't have any filters that even get close to 95mm!
 
Film came, this stuff is pretty impressive. Looking forward to constructing a frame.
 
The filter membrane or whatever it is came yesterday. I wanted to get the frame constructed just in case I messed something up, there'd be time for an alternative.

They give you instructions to build the frame, but I already had everything needed to do what I had planned, except Kleenex. The barrel of the filter frame is a carboard oatmeal cannister, lined with black posterboard and fitted with spacers to keep it centered on the lens. The filter frame is a piece of black foam presentation board, cut to size, with another piece of black posterboard for the top. Other materials included Scotch brand two sided and single sided cellophane tape, and gorilla tape.

The frame seems awfully big, but they recommended 4" larger than the lens element.

IMG_2473.jpg


The film looks loose, and I have no idea how it's optically perfect, but this looks exactly like their example images. They warn you several time not to stretch it or pull it taught. You cut the material, set it on the aforementioned Kleenex that has been stretched smooth and taped to a table, and 'drop' your frame with two-sided tape onto the filter material.

IMG_2472.jpg


Here it is on the lens. Totally cheesy! I was thinking about covering the outside with more black posterboard, then thought "Heck No!" it'd ruin the vibe!

IMG_2474.jpg


So, there it is. I'll try it out next sunny day we get and see how it works. Who knows? Maybe I'll enjoy sun photography and get a real solar filter. For now, this is good. I have the protective paper that it was shipped in taped over the filter material on both sides to keep dust off and protect it from scratches. It is currently living in my safe, fragile as it is.
 
Last edited:
The filter membrane or whatever it is came yesterday. I wanted to get the frame constructed just in case I messed something up, there'd be time for an alternative.

They give you instructions to build the frame, but I already had everything needed to do what I had planned, except Kleenex. The barrel of the filter frame is a carboard oatmeal cannister, lined with black posterboard and fitted with spacers to keep it centered on the lens. The filter frame is a piece of black foam presentation board, cut to size, with another piece of black posterboard for the top. Other materials included Scotch brand two sided and single sided cellophane tape, and gorilla tape.

The frame seems awfully big, but they recommended 4" larger than the lens element.

View attachment 55834

The film looks loose, and I have no idea how it's optically perfect, but this looks exactly like their example images. They warn you several time not to stretch it or pull it taught. You cut the material, set it on the aforementioned Kleenex that has been stretched smooth and taped to a table, and 'drop' your frame with two-sided tape onto the filter material.

View attachment 55835

Here it is on the lens. Totally cheesy! I was thinking about covering the outside with more black posterboard, then thought "Heck No!" it'd ruin the vibe!

View attachment 55836

So, there it is. I'll try it out next sunny day we get and see how it works. Who knows? Maybe I'll enjoy sun photography and get a real solar filter. For now, this is good. I have the protective paper that it was shipped in taped over the filter material on both sides to keep dust off and protect it from scratches. It is currently living in my safe, fragile as it is.

Oh, yes, you have use it exactly like that! You'll get so many questions about it you won't get a lot of shooting time, but it's cool!
 
Did some more testing today. This is an HDR, nine images. @ 0.7 EV.

DSC06088-hdr.jpg
 
First forecast, 14 days away. It means nothing!

first forecast.JPG
 
Finally finalized my filter design. Nothing fancy but it is simple and it will be easy to pack, which is key since I need to travel by plane. I went with a Staples Poly 2-Pocket Presentation Folder (thin, block 100% of the light and "weather proof") as the bread for the AstroSolar Safety Film and ring with cotton balls as the material to tighten the hold on the lens. Once I get to my destination I will make the more secure than what is shown.

20240325_135943 small.jpg
 
Helpful websites:
Solar Eclipse Time Exposure Calculator - linky
Interactive map - linky

Exposure Calculator find the location on the map and find the ALT value of the sun
Screenshot 2024-03-26 164508.jpg


Input that value into the Altitude of the Sun
Screenshot 2024-03-26 164609.jpg


Select your aperture. If you are using one of the Solar Filters it is most likely the ND 5.0 value that you will use but check the documentation of the filter.
 
That's cool. I don't understand the ND filters though?

I use this site for eclipse info, you can click around a drop a pin right where you plan to observe from. It then gives you all the pertinent information.

 
Last edited:
Well that didn't take long. Current forecast, 58 degrees, cloudy with rain.
 
Hey Tim, any luck with the eclipse?
 
Don't know how Tim did but I had some luck.
Here is first image in which one could tell the moon started blocking the sun.
Eclipse 2024 - Erwin Park, Texas - 04082024 - 01.jpg
  • ILCE-1
  • Sony FE 200–600mm F5.6–6.3 G OSS (SEL200600G)
  • 300.0 mm
  • ƒ/11
  • 1/400 sec
  • ISO 100


One about 33%
Eclipse 2024 - Erwin Park, Texas - 04082024 - 10 1.jpg
  • ILCE-1
  • Sony FE 200–600mm F5.6–6.3 G OSS (SEL200600G)
  • 300.0 mm
  • ƒ/11
  • 1/400 sec
  • ISO 100


~96%
Eclipse 2024 - Erwin Park, Texas - 04082024 - 13 1.jpg
  • ILCE-1
  • Sony FE 200–600mm F5.6–6.3 G OSS (SEL200600G)
  • 300.0 mm
  • ƒ/11
  • 1/5 sec
  • ISO 100


Totality
Eclipse 2024 - Erwin Park, Texas - 04082024 - 15.jpg
  • ILCE-1
  • Sony FE 200–600mm F5.6–6.3 G OSS (SEL200600G)
  • 300.0 mm
  • ƒ/11
  • 1/40 sec
  • ISO 100

Eclipse 2024 - Erwin Park, Texas - 04082024 - 19.jpg
  • ILCE-1
  • Sony FE 200–600mm F5.6–6.3 G OSS (SEL200600G)
  • 300.0 mm
  • ƒ/11
  • 1/160 sec
  • ISO 100

Eclipse 2024 - Erwin Park, Texas - 04082024 - 21.jpg
  • ILCE-1
  • Sony FE 200–600mm F5.6–6.3 G OSS (SEL200600G)
  • 300.0 mm
  • ƒ/11
  • 1/100 sec
  • ISO 100

Last bit of totality
Eclipse 2024 - Erwin Park, Texas - 04082024 - 23.jpg
  • ILCE-1
  • Sony FE 200–600mm F5.6–6.3 G OSS (SEL200600G)
  • 300.0 mm
  • ƒ/11
  • 1/400 sec
  • ISO 100


Like 15% cover as it moves past and the last photo I took as a long p
Eclipse 2024 - Erwin Park, Texas - 04082024 - 25.jpg
  • ILCE-1
  • Sony FE 200–600mm F5.6–6.3 G OSS (SEL200600G)
  • 300.0 mm
  • ƒ/11
  • 1/25 sec
  • ISO 100
eriod of thick clouds moved in.
 
I can't say that I have seen any better shots than those anywhere!
 
Back
Top