In this quick accessory guide you’ll find my top 10 recommended accessories for the high resolution Sony A7R III mirrorless camera in 2024.
Please let me know in the comments below if there are any accessories that you think deserve a mention.
Sony A7R III Forum & Facebook Group
If you are looking for further help and advice on the A7R III or would simply like to share your photos, then please head over to our friendly full-frame Forum. If you prefer Facebook then I also run the Sony Alpha Shooters Group where you can ask questions or post your shots taken with the Sony a7R III.
My Top 10 Sony A7R III Accessories
Here are my top 10 recommended accessories for the Sony a7R III mirrorless camera.
1. Sony PCK-LG1 Screen Protector
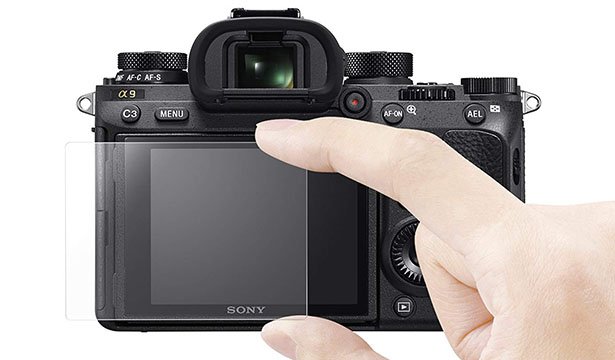
You may or may not be aware that the LCD screen on the a7R III does include a very thin screen protector from the factory. However, it’s so thin that it’s practically useless and certainly won’t protect the screen from knocks and scratches.
Therefore I highly recommend purchasing an additional screen protector that simply goes over the top of the original. The official screen protector from Sony is the PCK-LG1. It is labelled as the screen protector for the a9 in many places, but rest assured it is fully supported and fits the a7R III perfectly.
I use this same screen protector on my own a7R III, a7R IV, a7III and a9 cameras and so far it has not disappointed me unlike some cheaper third-party screen protectors that I have also tried over the years.
2. Sony VGC3EM Vertical Grip
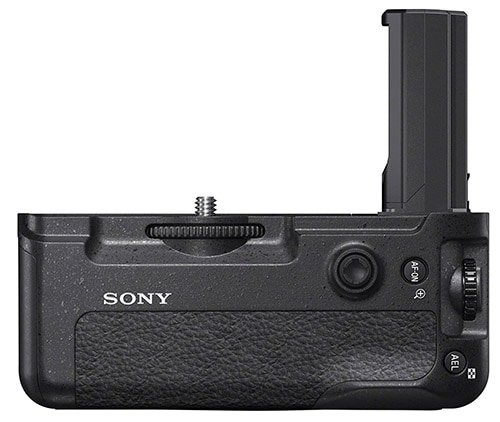
If you would like to double the battery life of your a7R III and at the same time improve the ergonomics by increasing the size of the grip and adding additional vertical shooting buttons then you don’t need to look much further than the Sony VGC3EM vertical grip.
The grip itself supports two Sony NP-FZ100 batteries inside the grip, effectively doubling your battery life. To attach the grip you do need to remove the battery cover door from the a7R III but this is very simple thanks to the little switch on the inside of the door, there is also a place to store the door inside the grip so that it doesn’t get lost.
The grip itself is made from the same material as the a7R III, so it matches the camera body perfectly. The buttons also have the same tactile feedback as those on the a7R III. There are cheaper third-party battery grips available but if consistency is important to you and you’d like the grip to match the camera perfectly, then this is the grip for you.
I’ve also done a fairly comprehensive review of this vertical grip that you will find here.
3. Sony RMT-P1BT Remote Commander
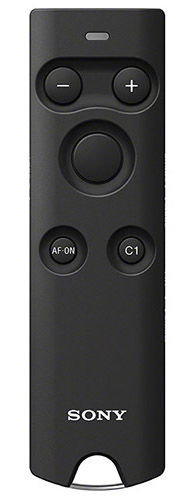
If you are looking for a wireless remote for the a7R III then the Sony RMT-P1BT bluetooth remote has a range of up to around 18m or 60 feet from the camera. This compares to the older RMT-DSLR2 infrared remote that only works up to a couple of meters from the camera and struggles when outdoors.
The remote features a shutter button that works just like the shutter button on the camera itself, with a half-press activating the autofocus and a full press releasing the shutter. There are also two custom buttons that mirror the functions of the C1 and AF-ON buttons on the camera body, a lock switch, a movie/stills switch, and a zoom/focus switch.
When the a7R III is in bulb mode a single press of the shutter button opens the shutter and a second press will close it again. You can also shoot continuous by holding down the shutter button.
Please note that when the Bluetooth Remote option is enabled in the a7R III settings menu then the Location Info Link is disabled. So if you are using Imaging Edge Mobile to record your location information via bluetooth, I’m afraid this will not work at the same time as the remote.
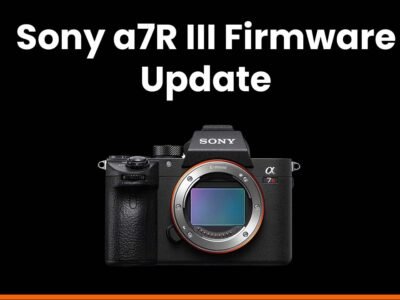
You will need to have updated the firmware on your a7R III to version 3.00 or newer for this remote to be supported. You can find the latest a7R III firmware updates here.
This remote is not the most intuitive to setup and I initially thought mine was broken before I figured it out. Therefore I created this short setup guide that will talk you through the setup process:
4. Sony NP-FZ100 Battery and BC-QZ1 / BC-ZD1 Chargers
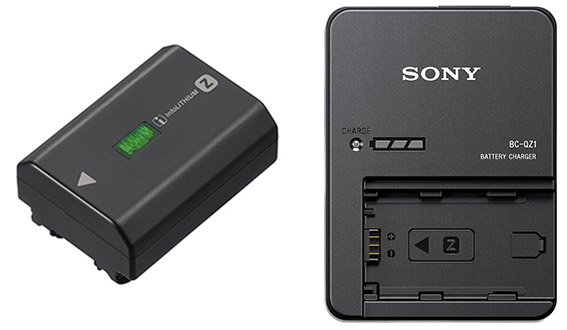
The high capacity Sony NP-FZ100 battery will let you shoot for hours on end, although it will rarely get you through an entire day of full-on action. So you’ll probably want at least 2-3 of these batteries to make sure you don’t run out of juice.
I highly recommend the original Sony batteries over third-party options if you don’t want to risk damaging your camera. Also many third-party batteries will throw up error messages when used in the a7R III and although they will normally continue to work you will lose the battery remaining indicator.
To charge the NP-FZ100 battery you’ll need the Sony BC-QZ1 charger. Alternatively there is also the Sony BC-ZD1 dual battery charger.
Check Price & Reviews: BC-ZD1 Dual Battery Charger
At: B&H Photo | Amazon
5. SanDisk Extreme Pro UHS-II (300/260)
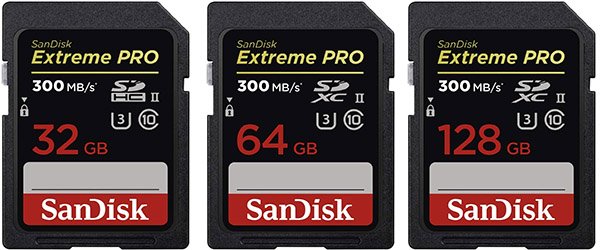
The SanDisk Extreme Pro cards have a claimed read speed of 300MB/s and a write speed of 260MB/s. I’ve tested a lot of SD cards in-camera and only the Sony SF-G cards are a few fractions of a second faster than the SanDisk Extreme Pro cards.
Unfortunately Sony has discontinued the SF-G cards, you can still get the SF-G Tough cards but these are a lot more money and not really worth it unless you shoot in very harsh environments.
6. Rode Wireless Go
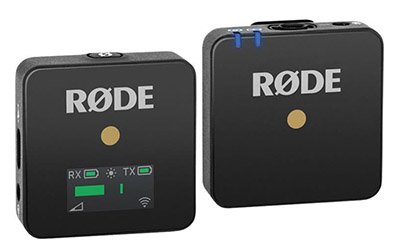
The internal microphone on the a7R III is not the greatest. If you are looking to improve your audio and don’t want to use a shotgun mic then the Rode Wireless Go is definitely one option to consider.
In the box you’ll find a compact receiver and a transmitter with microphone built in. You simply clip the mic to either yourself or your subject then connect the receiver to the hotshoe mount on the a7R III and finally the audio cable to the mic port.
The Wireless GO uses an internal lithium-ion battery that Rode claims will last up to seven hours. Charging is done to both transmitter and receiver via USB-C ports and it can be fully recharged in two hours.
The transmitter has a built-in pre-polarized omnidirectional microphone with a frequency range of 50 Hz to 20 kHz and weighs just one ounce. It also has a 3.5mm TRS powered port to support a lavalier microphone. The Wireless GO can transmit up to 230 feet and uses the same 2.4 GHz frequency band as the RodeLink.
I’m using this microphone myself for most of my recent YouTube Videos and can’t see myself changing it anytime soon.
7. Peak Design Travel Travel Tripod Carbon

It is still hard to believe but the Peak Design Travel tripod raised over $12 million on Kickstarter back in 2019, and in the process made it one of the most successfully funded tripods of all time.
Its phenomenal success was largely due to its unique compact design together with Peak Designs well regarded reputation in the industry for building high quality products.
There are two versions of this tripod available, a carbon model that weighs 1.27 kg (2.81 lbs.), and the aluminum model that weights 1.56 kg (3.44 lbs.). Both versions have a maximum weight capacity of 9.1 kg (20 lbs.).
The tripod features 5 section quick release legs that can be deployed in seconds without having to flip over like traditional travel tripod legs. There’s an omnidirectional ergonomic ball head included that is compatible with all of Peak Design’s plates and most 3rd party Arca-type plates.
When collapsed the tripod measures 39.1 cm (15.4”) in length and 7.9 cm (3.125″) in diameter. The maximum height (center column raised) is 152.4 cm (60″), or 130.2 cm (51.25″) with the center column down. The minimum height (low mode) is 14 cm (5.5”).
To learn more about this exciting tripod simply watch this very helpful video presentation:
Price Check & Buyer Reviews: Peak Design Travel Travel Tripod
At: Peak Design | Amazon | B&H Photo
8. Peak Design Cuff + Slide Lite Straps
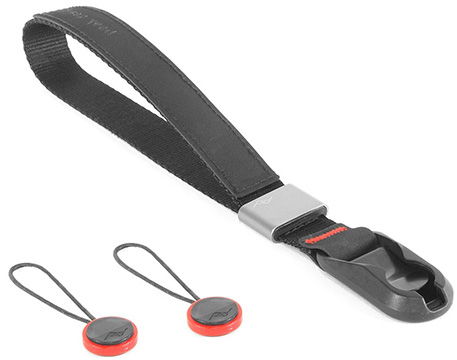
The Peak Design Cuff wrist strap will help to protect your a7R III from accidental drops. It connects to the camera using Peak Designs anchor system and the wrist loop magnetically locks in the open position, or comfortably cinches down on your wrist for added security.
The Peak Design Slide Lite can be worn as a sling, neck, or shoulder strap. It uses internally-padded nylon webbing has a smooth side that glides over clothing in sling mode and a grippy side that prevents slipping in shoulder mode.
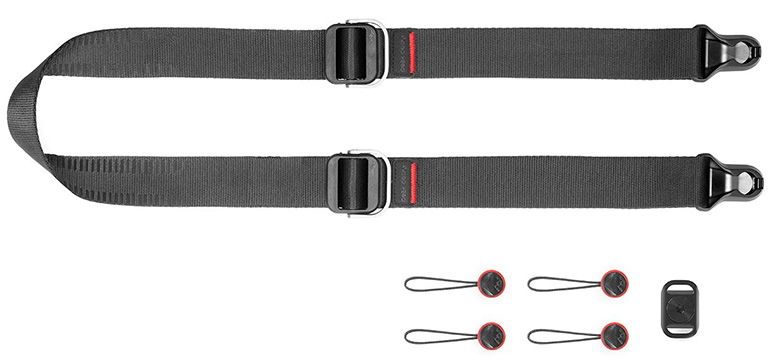
What I like most about the Peak Design system as that it takes only seconds to switch from using the wrist strap to the neck strap, or switch straps from one camera to another.
Price Check & Buyer Reviews for Peak Design Cuff
At: Peak Design | Amazon | B&H Photo
Price Check & Buyer Reviews for Peak Design Slide Lite
At: Peak Design | Amazon | B&H Photo
9. Think Tank / MindShift Backlight 18L Backpack
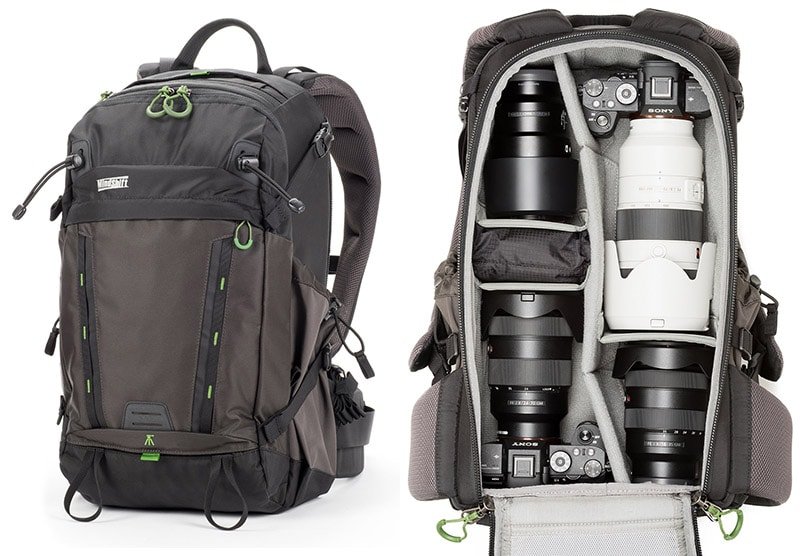
After purchasing the Sony 200-600 lens I found myself needing a new daypack.
Since I run the Sony Alpha Wildlife Shooters Group I simply asked the group members which bags they would recommend.
The response was so overwhelming I decided to put together this bag guide to help others with the same question.
The MindShift Backlight 18L Backpack was one of the most popular choices with members. So I purchased this bag in the woodland green color and not the charcoal grey like pictured above.
You access your camera gear through the rear access panel which you can also access without taking the backpack off by simply rotating the bag to the front of your body while the waist belt is still secured.
There’s a dedicated compartment that will fit up to a 13” laptop or tablet, front storage pockets totaling 5L of space and great for any personal gear like a light jacket or food. There’s also a seam-sealed rain cover included. The pack weighs 3.5 lbs. (1.6 kg) and has a total volume of 18 liters.
The exterior dimensions are 10.6” W x 18.5” H x 7.1” D (27 x 47 x 18 cm) so it also meets most international and US carry-on requirements. Internal dimensions are 9.4” W x 16.7” H x 5.5” D (24 x 42.5 x 14 cm).
If 18L is not large enough then there is also a 26L and 36L version available, I also have the 36L myself.
Price Check & Buyer Reviews for MindShift TrailScape 18L Backpack
At: Think Tank | Amazon | B&H Photo
10. Rocket Air Blaster Large

If you don’t already own a rocket air blaster then I don’t know how you’ve survived this long without one. It’s a fantastic accessory for blowing dust off your sensor, off your lenses, off filters and from out of the EVF.
Also when it comes to sensor cleaning the less contact with your sensor the better. I rarely have to reach for my sensor cleaning toolkit as often a couple of blasts from the rocket will remove any dust particles.


Leave a Reply